

Travel eSIMs you may like:


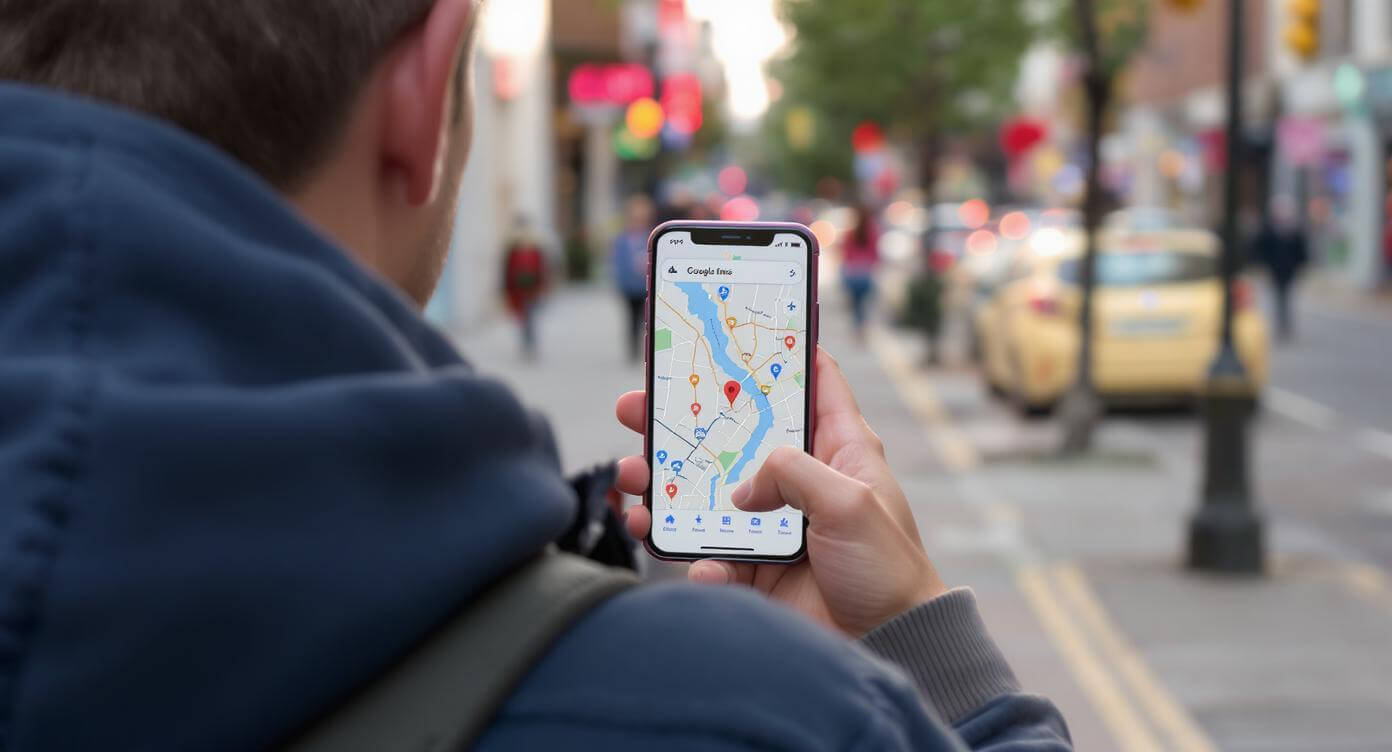
The first time I used an eSIM while travelling, I was standing in the customs line at Berlin airport, bleary-eyed and trying to remember how to ask for Wi-Fi in German. Then – ping – my phone connected. No SIM swap, no hunting for a kiosk, no panic. Just instant data, right when I needed it. If you're wondering how to use an eSIM abroad (or whether it's even worth it), you're in the right place. In this guide, I’ll walk you through everything from setup to avoiding roaming fees, switching between countries, and the small settings people often forget. I’ll also share a few tips I’ve picked up along the way – including how to make sure your phone’s compatible and what to watch out for when travelling with dual SIMs. It’s easier than you think – and once you try it, you’ll never go back.
Can I Use an eSIM When Travelling Internationally?
Absolutely, you can! If you've ever wondered, "Can I use an eSIM when travelling?" or "Can an eSIM be used internationally?", the answer is a big yes – and I use one every time I travel. eSIMs make international travel smoother, cheaper, and a lot less stressful.
At ZenSim, we offer Travel eSIMs that work in over 200 countries, which means you’ll probably be covered wherever your adventures take you. eSIMs let you skip the roaming rip-offs and access local networks at local prices. That’s more money for food, souvenirs, or that extra cheeky cocktail by the beach.
Just make sure your phone supports eSIMs before you take off – it only takes a sec using our eSIM compatibility checker.
Countries and Networks That Support eSIM
It’s honestly wild how many places now support eSIMs. At ZenSim, our Travel eSIMs work in over 200 countries – from Argentina to Azerbaijan, Japan to Jordan. Whether you're off to a single destination or ticking off five countries in a week, we’ve got options.
If you're going on a whirlwind Euro trip, our Europe Travel eSIM covers 39 countries on a single plan. And if you're going global (jealous!), our Global Travel eSIM supports 119 countries – which is pretty much the travel dream.
You can browse every destination we cover and check network availability using our search tool.
Is My Phone Compatible with eSIM Abroad?
Most newer phones are totally ready for eSIM travel. If you’ve got anything from an iPhone XS or Samsung Galaxy S20 onwards, chances are, you’re good to go. But rather than guess, it’s way easier to run your phone through our eSIM compatibility checker. It’s quick, free, and saves any last-minute airport panic.
Different countries and networks support different devices, and things can vary based on where your phone was bought – though if you purchased your phone in Australia you’re safe. If you’re unsure, you can always contact our team. We’ll help you sort it out in no time (we’re good like that).
Why Use an eSIM for Travel?
Travelling with an eSIM just makes sense – especially when you compare it to traditional roaming. Roaming charges are usually sky-high, they cover fewer countries, and you might only find out how bad the damage is after you get home. Not ideal.
With a travel eSIM, you can prepay and install everything before you even leave home, so you’re connected the moment you land. No SIM-swapping, no awkward airport Wi-Fi hunts. And if you need more data or time, just open the ZenSim app and top up in a few taps. Simple, fast, and no surprise bills. That’s why I always travel with an eSIM now – and once you try it, you probably will too.
Using an eSIM to Avoid Roaming Charges
One of the biggest reasons I recommend travel eSIMs is to avoid the shock of roaming fees. If you’ve ever come home to a phone bill that made your stomach drop, you know what I mean.
Take Telstra, for example – Australia’s biggest telco. If you’re headed to Europe (which they label as “Zone 2”), they’ll charge you $10 a day just for roaming. Go for a 30-day trip and boom: that’s $300.
Now compare that to one of our 30 day Unlimited Europe eSIMs at ZenSim. You’ll get unlimited data for just A$2.96 per day (that’s around $1.90 USD). That’s A$89 for the whole month. Same trip, same destinations, wildly different outcome.
Flexibility of Switching Data Plans While Abroad
Travelling with a physical SIM means being locked into one provider – but with travel eSIMs, you’ve got way more freedom. If you’re hopping between countries, or just need more data, you can switch things up on the fly.
You can install multiple eSIMs on your phone, and add new ones whenever you need. Heading from France to Italy? Add a new plan or activate your Europe eSIM that covers both. Going even bigger? Try our Global eSIM and stay connected in 119 countries.
How to Use a Travel eSIM Abroad – Step by Step
So, you’re ready to ditch the plastic SIM and step into the world of travel eSIMs. Good choice! Whether you’re asking “how to use a travel eSIM”, “how to use eSIM while travelling”, or any of the other dozens of variations – here’s your simple, no-fuss guide to getting connected abroad.
It’s easier than it sounds, promise. Let’s break it down.
Choose a Travel eSIM Provider
Not all travel eSIMs are created equal, so it’s worth comparing a few things before you buy. Look at which regions are supported, how long the plans last, how much data you get, and whether you can top up easily. Some providers make it hard to get help if something goes wrong – and that’s the last thing you want when you’re overseas.
At ZenSim, we support over 200 countries, offer highly competitive pricing, and have the ZenSim app where you can track your usage and top up instantly. That said, whatever provider you go with, make sure they’re transparent, have support options, and their plans suit your travel style (and budget).
Purchase and Activate the eSIM
Once you’ve chosen your travel eSIM, the purchase and installation process is pretty straightforward. Most providers (including us) will email you a QR code shortly after checkout. All you need to do is scan it from another device – tablet, laptop, mate’s phone – whatever works.
If you're using ZenSim, you can also install the eSIM directly from our app on iOS with a single tap. No QR scanning needed. You can even share the code to another device or manually enter it in your phone’s settings if you’re feeling fancy (but don’t worry – we have step-by-step instructions in the app so you won’t get lost).
That said, scanning the emailed QR code is by far the most popular method as you will be done in a matter of seconds.
Set Up Your eSIM on iPhone or Android
Once your eSIM is added to your device, it’s time to set it up. This part is usually quick, but if you’re new to it, we’ve got a full eSIM installation guide to walk you through it.
All you need to do is follow the prompts on your device, it’s a simple process. If you have any issues you can always contact us directly.
Just a heads up for iPhone users: if you install your eSIM before leaving your home country, you might see an “eSIM cannot be activated” message. Don’t stress – it’s a common one. The eSIM is still installed fine in the background, and it’ll activate properly when you land. More on that in our troubleshooting guide.
Configure Your eSIM for Data While Travelling
When you touch down in your destination, take a moment to double-check that your phone is using the eSIM for data. Here’s a quick rundown of the settings for different devices. If you want a deeper dive, our full troubleshooting article has you covered.
Apple iOS (iPhone)
- Go to Settings > Mobile (or Cellular)
- Tap Mobile Data and select your eSIM (usually labelled Travel, Personal, or Secondary)
- Tap into the plan and make sure “Data Roaming” is turned ON
Samsung Galaxy (Android)
- Open Settings > Connections
- Tap SIM Card Manager and select your eSIM for Mobile Data
- Go back and tap Mobile Networks
- Ensure “Data Roaming” is ON
Google Pixel (Android)
- Go to Settings > Network and Internet
- Tap SIMs and choose your eSIM plan
- Enable Mobile Data and Data Roaming
Once you’ve ticked those boxes, we recommend giving your phone a quick restart. After that, you should be connected and ready to go. If anything looks off, you know where to find us – or hit up our troubleshooting guide.

Tips for Using an eSIM Internationally
Using a travel eSIM internationally is honestly pretty easy – and I say that as someone who used to overthink it every time. Once it’s installed and set up, you’re good to go. Travel eSIMs are prepaid, which means no post-holiday bill shock to ruin your mood when you get home. You pay upfront, you know what you’re getting, and you’re always in control.
One of my favourite tips? Start with a smaller data plan. For example, a 20GB plan is usually way cheaper than an unlimited one, and if you find yourself smashing through TikTok abroad, you can always top up later. That way, you’re not overpaying for data you might not even use.
Keep Your Primary SIM Active for WhatsApp & Calls
If your phone supports dual SIM (which most new models do now), there’s a nice little hack I always use: keep your regular SIM active while travelling – but turn off roaming on it.
Here’s why it’s handy. You’ll still receive SMS messages, so you won’t get locked out of your bank or email when they send those two-factor codes.
Just double-check that global roaming is disabled for your home SIM before you fly. That way, you won’t get hit with unexpected roaming charges. It’s a nice balance of convenience and peace of mind.
Monitor Data Usage to Avoid Running Out
There’s nothing worse than running out of data when you’re halfway to dinner in a city you don’t know. Luckily, with travel eSIMs, it’s easy to stay on top of things.
If you’re using ZenSim, just open the app to check how much data you’ve got left. And here’s a little pro tip – if you know you’re running low, you can top up before you hit zero. Your new plan will automatically kick in the moment your current one expires. That means no downtime, no panic, and no wandering the streets trying to find Wi-Fi just to book an Uber.
Common eSIM Mistakes and How to Avoid Them
Using a travel eSIM abroad is pretty straightforward, but there are still a few common mistakes that can trip people up – especially the first time around. The good news? They’re all super easy to avoid with a bit of prep.
First up, make sure your phone is actually compatible with eSIMs. It sounds obvious, but it’s an easy one to miss. At ZenSim, we’re pretty nice about it – if you accidentally buy a plan and your phone doesn’t support eSIM, we’ll refund you. But to save the hassle, it’s always best to check first using our eSIM compatibility checker.
If you’re buying a regional or multi-country eSIM (like one for Europe or Asia), double-check that all the countries on your itinerary are supported. Also, if you’re someone who loves to hotspot your phone for your laptop or a friend, make sure your eSIM provider allows that. (We do at ZenSim – naturally.)
Not All eSIMs Work Everywhere
As I mentioned above, not all eSIMs work in every country – or with every phone model. That’s why it’s so important to check compatibility before you purchase. Coverage can vary not just by country, but also by mobile network within that country.
If you’re planning a multi-country trip, take a moment to confirm that each stop is covered by the same eSIM. Our Travel eSIM search page makes this super easy. A few minutes of checking can save you a tonne of hassle later on.
Forgetting to Enable Data Roaming
This one’s surprisingly common – and easily fixed. You’ve got your eSIM installed, everything’s ready… but the data isn’t working. Nine times out of ten, it’s because data roaming is turned off or because your Mobile data needs to be told to use the new eSIM.
It’s especially common on iPhones, where roaming is disabled by default when you add a new plan. You just need to go into your settings and switch it on. We’ve got the exact steps (and a few other handy fixes) in our eSIM connectivity troubleshooting guide.
Once that’s sorted, you’ll be online and exploring in no time.
Summary
Travelling with a travel eSIM is one of those things that feels like magic the first time you use it – no roaming shock, instant connection, and total control over your data. Just remember to check your phone’s compatibility, enable data roaming, and pick the right plan for your trip. If you’re ever unsure or need help choosing, our team is always happy to help – just get in touch. Safe travels, and happy scrolling!
Travel eSIMs you may like:


Written by Andy Linton
Co-founder of ZenSim, loves a bit of Star Wars.
Andy has been in the telecommunications industry for the better part of 20 years. Somewhat of a super-nerd, Andy is the co-founder of ZenSim and the maestro behind the systems we use to provide our services.
Let's connect on LinkedIn 👉


Get amongst it
Join the community
We will reach out when we launch new products, about our sustainability projects, specials, new innovations or maybe even cool sh*t we think is inbox worthy.


